

* Working with Text Wrapping *
⇨ In this chapter, we will learn how to work with text wrapping in Microsoft Word.
Wrap text is used to position the text relative to a picture, shape etc.
After inserting a picture we can bring the text behind to the picture, make close with
the picture shape etc. This chapter will explain all the ways you can do with the
text wrapping options. So lets go:
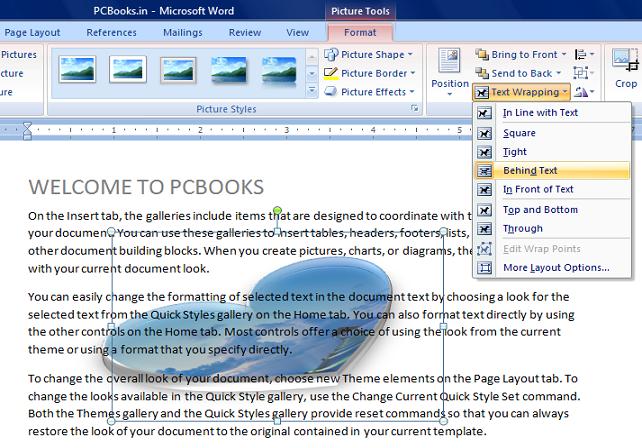
⇨ How to apply Text Wrapping Style?
a) At first write down any text.
b) Select the picture.
c) Click on Format Tab.
d) Click on Text Wrapping.
e) Click on Behind Text.
* This is the example of Behind Text Option:
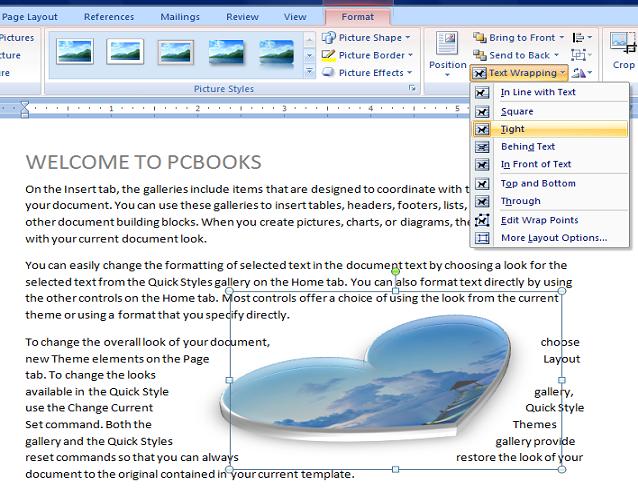
* This is the example of Tight Option:
* This is the example of Square Option:

* Here we have learn just only three options, but there are lots of text wrapping styles, we can use then according to our need.
⇨ How to apply Text Wrapping Style?
a) At first write down any text.
b) Select the picture.
c) Click on Format Tab.
d) Click on Text Wrapping.
e) Click on Behind Text.
* This is the example of Behind Text Option:
* This is the example of Tight Option:
* This is the example of Square Option:
* Here we have learn just only three options, but there are lots of text wrapping styles, we can use then according to our need.


